DIY: Paint Bucket Tomatoes
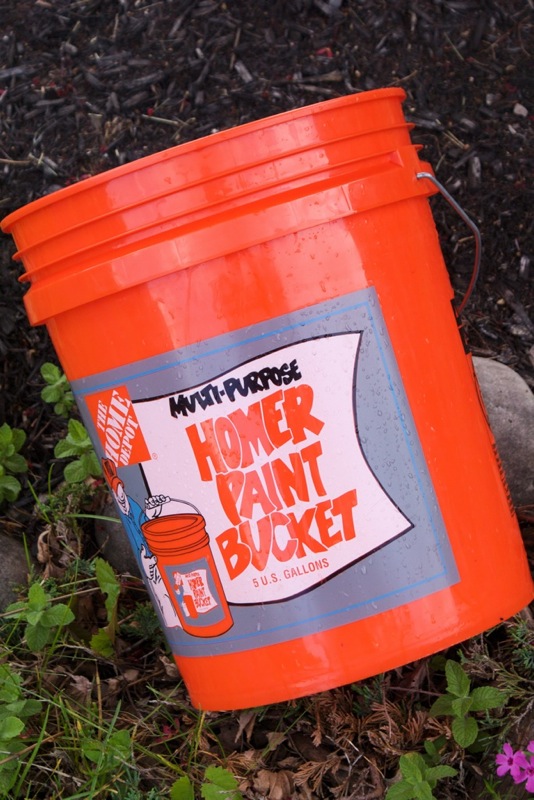 The lowly paint bucket. It’s interesting how something so simple can have so many uses. We haven’t had the time to set up a proper garden this year, but figured it would be nice to grow some tomatoes. We’ve tried growing them in pots before, but it just didn’t work.
Looking around on the intarwebs, I found a few really good ideas. The EarthTainer looks interesting. It uses a storage tote to create a low maintenance growing environment. I like the idea, but was looking for something simpler. (Although, this might be a project for next season). I looked at hydroponics, but this was even more complicated. I’m sure you’ve all seen the late night info-mercial for the Topsy Turvy. It grows your tomatoes upside-down. The Topsy Turvy looked interesting, but I knew there had to be a DIY solution. Here’s where the five dollar paint bucket comes in. A little Googleing found some great solutions. Most of them make use of either a bucket or hanging pot. I decided to do a combination of both. Read on…
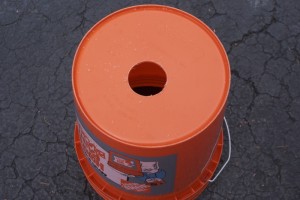 First step: Cut a hole in the bottom of the bucket. I used a 2″ hole saw attached to my drill. This was simple enough. Yeah, I know it’s slightly off-center, the little nub in the middle made it hard to get the bit centered.
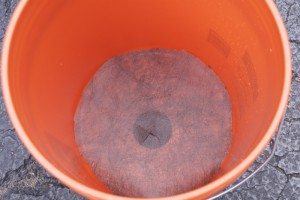 Next up, I cut a piece of landscape fabric to fit the bottom of the bucket. This material is used under mulch and hardscape to keep weeds from growing through. This will help keep the soil in the bucket while it’s hanging. You could substitute a coffee filter for this, but the fabric is much stronger.
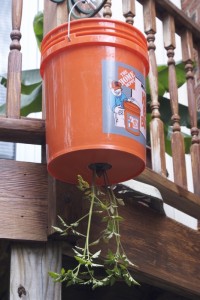 Then I just passed the tomato plant into the hole and squashed the root ball a little to keep it from falling out. From there, fill the bucket with good potting soil. I sat the bucket between two chairs so the plant would not get destroyed. I attached a strong plant hanger, using 3″ decking screws, into a deck post to hold it. You need to make sure this is well secured because it get’s heavy with soil and water. Also, make sure it’s in an area with good sunlight. I think the neighbors are going to think we’re nuts for hanging an orange Home Depot bucket from the deck. But who cares…
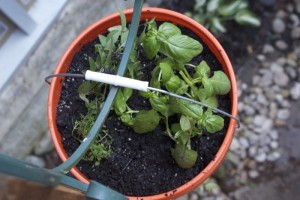 Instead of using the lid on the bucket as others have suggested, we planted an assortment of herbs. This makes it more of a multi-tasker. Only thing left is to water and let it grow.
This project of really simple and it uses items that we already had around the house. The only real expense was the plants and potting soil. Even if you had to buy a bucket it would be only $5. We’ll see in a month or so how it does. The concept is solid and somewhat proven, so I think it should be productive. I look forward to having my first tomato.
Leave a Reply